Managing multiple jobs and feeling the chaos? See a simpler way to stay in control—without bloated enterprise software.
Get a personalized demo →
A project schedule is a simple tool that enables you to plan and communicate what it will take to get a project done on time. You can use a project schedule to establish timelines and assign resources to every project task that needs to be knocked out, from start to finish.

With a project schedule, you don’t have to worry about important deliverables slipping through the cracks. Every task is accounted for, which means you can deliver the goods on time, every time.
And because it keeps track of all your team’s to-dos, it’s easy to set realistic deadlines and ensure everyone’s got a healthy balance without feeling overloaded. That means your “overpromising and underdelivering” days are over!
Of course, seeing is believing. So let’s take a look at what we'll cover on this page:
Projects come in all shapes and sizes. But if you’ve got work to do, deadlines to meet, and resources to manage, a project schedule is the perfect tool to help you do all three.
Let’s take a look at a few industry examples where a project schedule comes in handy.
Roll out new initiatives and minimize operational disruption by breaking work down into easy-to-accomplish phases and keeping key stakeholders in the loop.

Work for a digital agency or in-house marketing team? Rock your next go-live date by ensuring copy gets written, graphics get designed, and pages get coded.
If you’re looking for examples of how to schedule your next digital project, check out our marketing and design project templates.

Got a crew of subcontractors to keep busy? Anticipate construction delays, minimize downtime, and get the job done on time and on budget.
If you’re looking for a jumping off point, check out our construction project schedule example, and download even more construction project management templates!

Take charge of all your event planning logistics by tracking all your vendors and deliverables in a single project schedule.
Before you dive into scheduling your next event plan, check out our pre-built event planning templates.

Once you’ve downloaded TeamGantt’s free project scheduling Excel template, you’re ready to make its features work for you. Simply follow these steps to create a project schedule that fits your business needs.
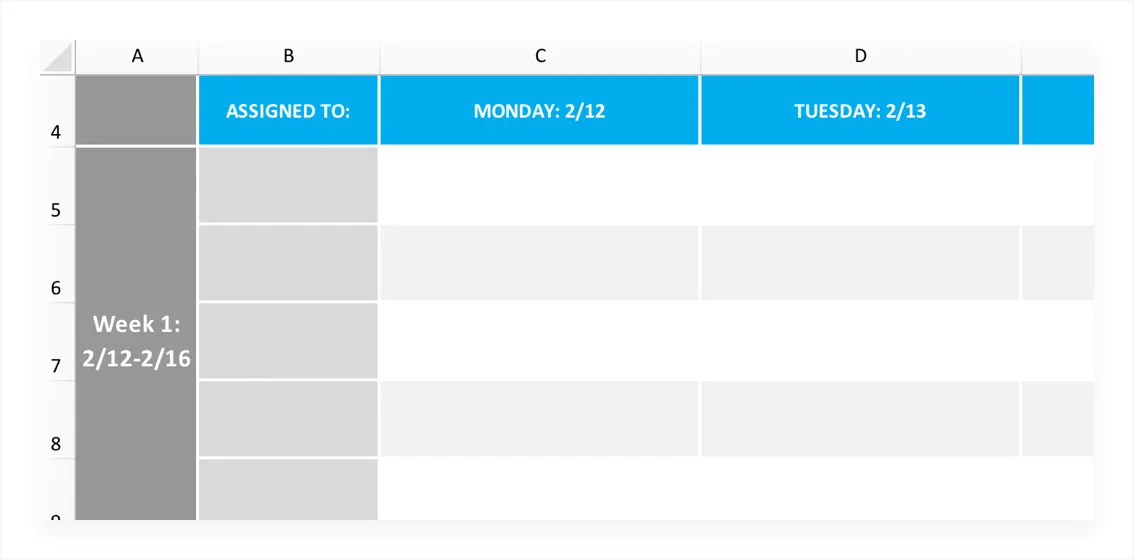
With TeamGantt’s project schedule Excel template, you can outline who needs to tackle what over the next two weeks so your whole team stays ahead of the curve. We recommend adding dates to your schedule so there’s no confusion about the timeline.
1. Start by specifying the date ranges for Week 1 and Week 2 in the far left column.
2. Then, enter the date that corresponds to each weekday featured on the project schedule spreadsheet.
Unless you run a one-man show, you'll be working with people to help get the job done. List each team member or department who will contribute to the project in the Assigned to column.
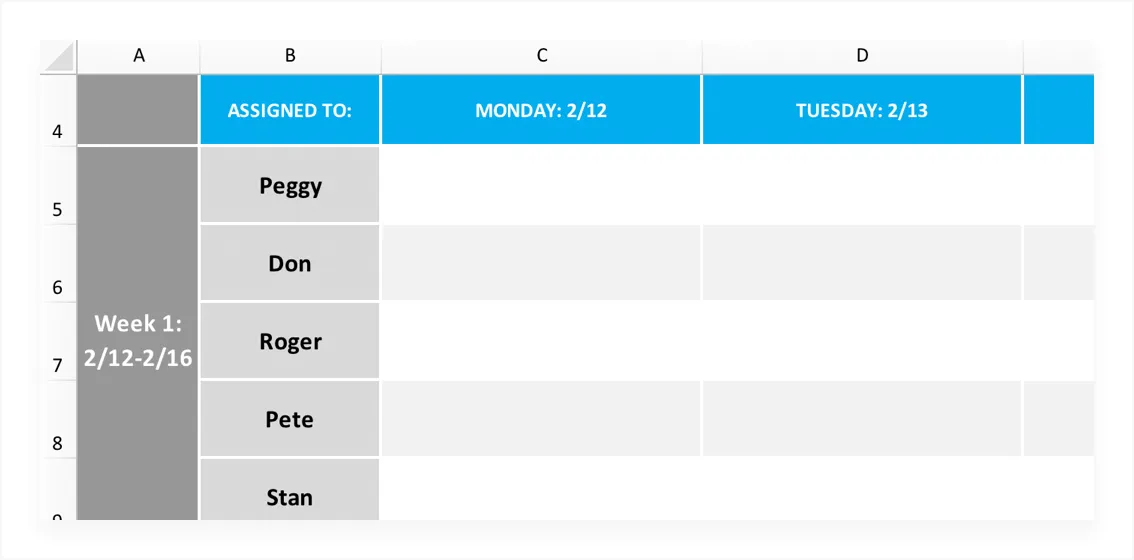
Now that you’ve added all your resources, you’re ready to assign work! Enter a descriptive name for the tasks you want each team member to accomplish below the corresponding day of the week.

Got lots of projects in the works? Keep your projects organized by giving each schedule its own specific title.
1. To add or edit the title of your project schedule template, double-click your cursor into cell A-2.
2. Enter a new title for your project schedule template. Feel free to include the project name in your title so there’s no doubt about what this schedule covers.
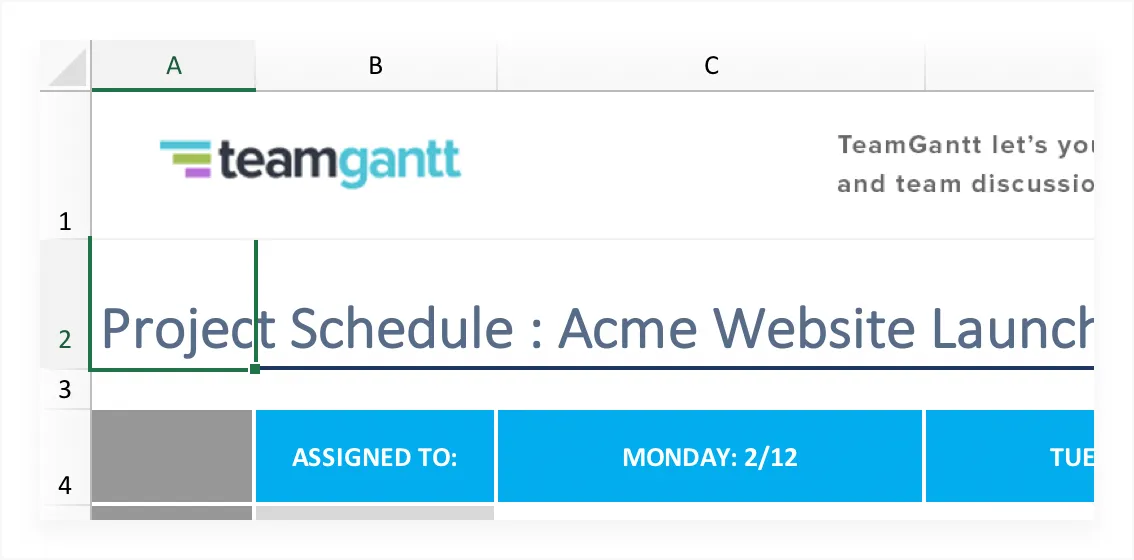
3. Format the header text using the same formatting tools you’d use to format any other text in the worksheet.
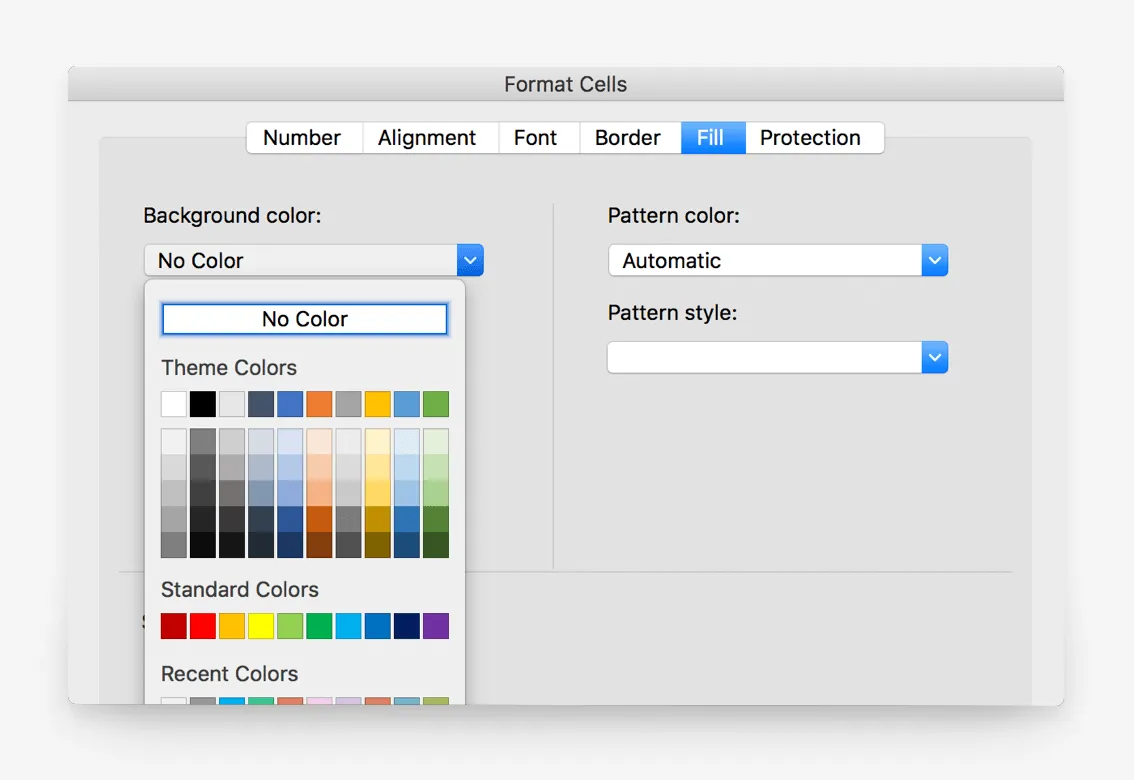
Want to up your project schedule ante? Use different colors to organize tasks by team member, or apply your own brand colors to the template.
1. Click to highlight the cell, row or column you want to change.
2. Go to Format > Cells, and select the Fill tab.
3. Click on the Background Color dropdown, and choose the new color you want to apply to the cell, row, or column you’ve highlighted.
We’ve based this project timeline template on a biweekly schedule that covers weekdays only. But you might want to expand your timeline to cover a month’s worth of tasks, weekends included. Or perhaps you’ve got a big crew to manage and need to add more people to your project schedule.
1. To insert a new row, click Insert > Rows. A new row will be added above the one you currently have selected, using the same formulas and formatting of the row above.

2. To insert a new column, go to Insert > Columns. A new column will be added to the left of the one you currently have selected, using the same formulas and formatting of the column to the left.

Feel bogged down by extra details? Here’s how to trim the fat from your project schedule spreadsheet in Excel.
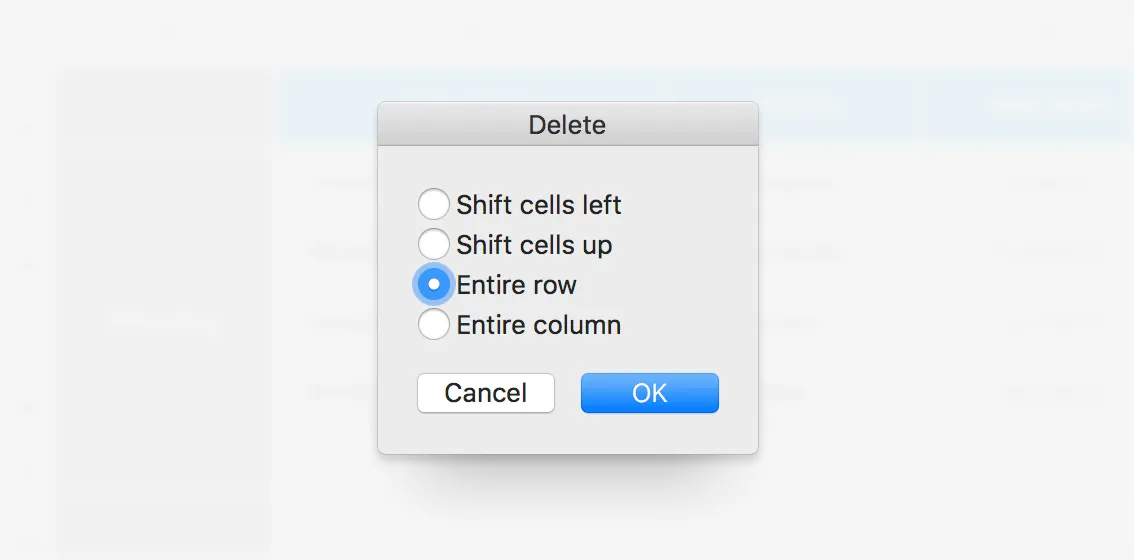
1. To delete an existing row, click on the row you want to remove. Go to Edit > Delete, and choose Entire Row.
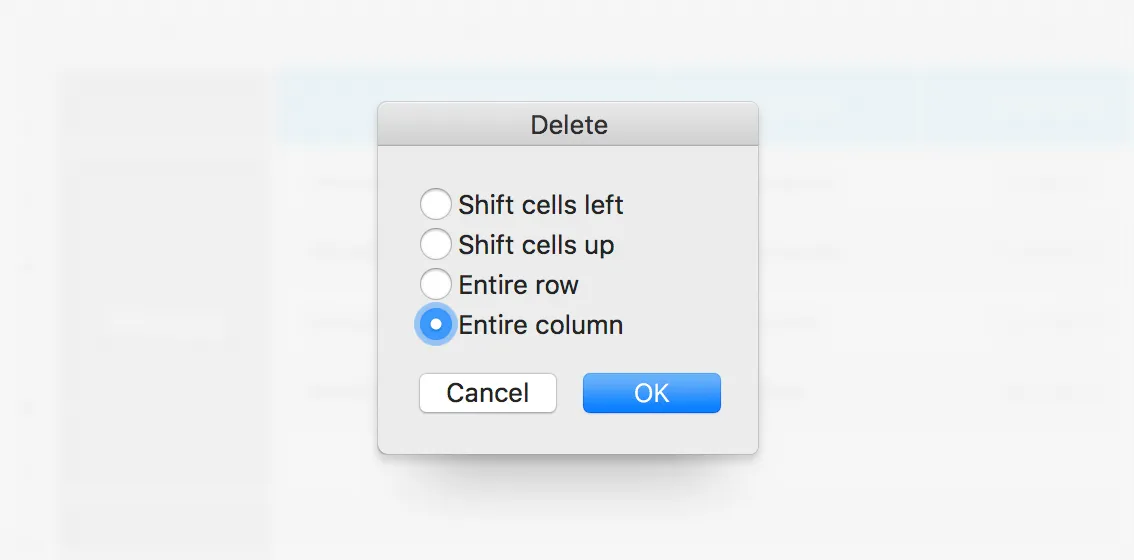
2. To delete an existing column, click on the column you want to remove. Go to Edit > Delete, and choose Entire Column.
Applying your own brand magic to the project schedule is easy. Here’s how to add your company logo to the worksheet.
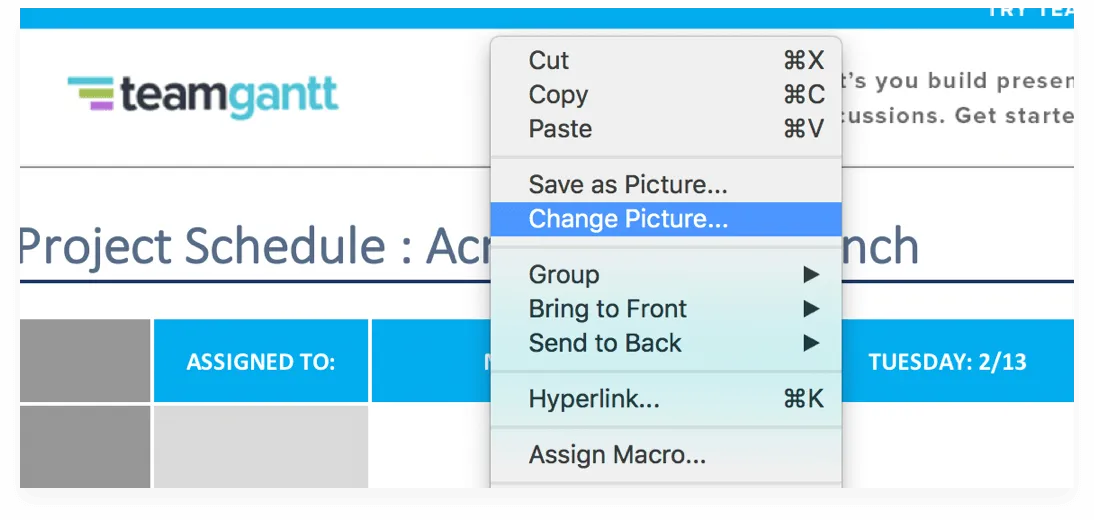
1. Right-click on the TeamGantt logo/header image in row 1, and select Change Picture.
2. Choose the image file you want to add to the worksheet, and click the Insert button.
Want to ensure everyone’s on the same page about a project’s timeline? Print your customized project schedule template out, and post it on the wall or distribute it to the team.
1. Start by setting the print area. Highlight all the cells you want to print out, then go to File > Print Area > Set Print Area.

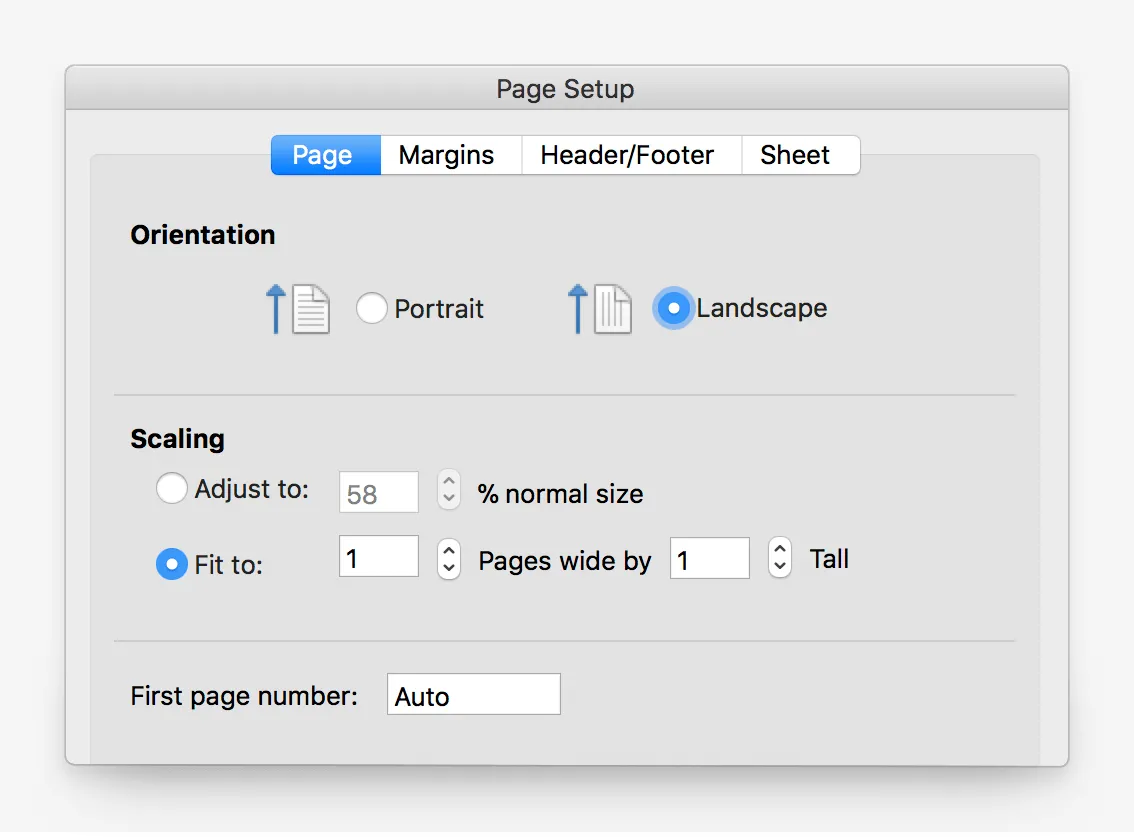
2. If you want to adjust the scale of the project schedule to fit on a single page, go to File > Page Setup, and select the Page tab.
3. Once you’ve set the print area and adjusted the scale of your project schedule, you’re ready to send it to the printer. Click File > Print.
Want to save time and hassle on your next project? Give TeamGantt’s online project management software a try! To make getting started even easier, we offer a library of ready-to-go Gantt chart templates.
With TeamGantt, you can create a project schedule in minutes and capture real-time updates from all your key players as the project progresses. There’s no easier way to keep team members and stakeholders in the loop!
Of course, plans can change. TeamGantt’s drag-and-drop simplicity means you can adjust timelines and assignments on the fly without undoing the entire plan.
Try TeamGantt for free today, and make project scheduling stress-free! Once you’re in, here’s how to create your own project schedule using TeamGantt.
Before you can set up your schedule, you’ll need to answer a few quick onboarding questions and then create a new project.
1. Start by entering a descriptive name for your project. We’re calling ours “Acme Website Launch” here.

2. Then, choose a new Start Date, if you want your list to begin on a day other than today.

3. Next, decide whether you want to start from scratch with a blank project or choose a template from our handy library of pre-built options.
Simply click on the Preview templates icon to view all of the available template options. If you find a template that you’d like to use, select Use Template in the bottom right corner of the window.

If not, click anywhere outside of the preview window to return to the Create a new project page and continue with a blank project.
4. Next, select which days of the week you want to assign and track work for this project. The default is Monday through Friday, but you can choose any configuration of days that make sense for your work schedule.

5. Finally, select Create new project to save your changes and get to work.
1. Now let’s set up your task list! We chose the Basic Project template for our example, which gives us two task groups to start out.

2. Task groups enable you to organize tasks by team or department. To rename a task group, click on the task group placeholder and enter a new name.

3. If you need to add more task groups, click +Group of Tasks, and enter the name of your new task group in the blank field that appears below.

4. To add a new task, click + Task and enter a name in the blank that appears above.

Each new task you add to your project schedule automatically inherits the timeline of the task directly above it. But don’t worry: Changing it’s a snap!
1. To adjust the timeline, simply click and drag the colored task bar until it covers the desired date range for that task.
2. To shorten or extend the timeline, drag the start or end date of the colored task bar.

1. To invite other users to your project, select the People tab in the top navigation bar of your project. Then, select Invite People to add new users by name and email address.

2. To assign a team member to a task, click on Assign to the right of the task name under the Assigned column. Select the team member who will be responsible for this task, then click Done.

3. Once assigned, the team member’s name will appear to the right of the task name.

1. To assign a specific color to each team member, go to the People tab at the top of your project page.
2. Click none (under the Task Color column) to the right of the team member name.
3. Choose a color by clicking on the colored square. This will automatically apply the color to each task that the team member is assigned to.

Some work may not be able to start until other tasks are complete. That’s where dependencies come in handy. Dependencies enable you to connect tasks and control the order in which they get done.
1. To add a dependency, click on the gray dot to the right of the first task in the gantt chart.

2. Then drag the dependency line to connect it to the dependent task below. A gray line should appear, indicating the two tasks are connected.

No two projects are the same, and you may prefer a different method for creating and managing project schedules. That’s why we pulled together a few additional options you can use to keep your project tasks, resources, and budgets on track.
Ready to ditch the spreadsheets and become a lean, mean project-scheduling machine? Give TeamGantt a free try today, and enjoy easier and more flexible project scheduling.